3D Profilers
Our laboratory is equipped with nano and micro-scaled sensitivity to suit your surface profile.
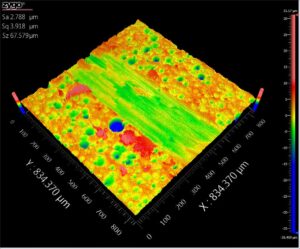
- ZeGage™
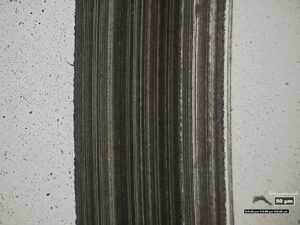
- HIROX KH-8700
Optical profilometry is a technique used for the topographical study of the material’s surface which works on the principle of light instead of the physical probe in determining the data. The main feature of this technique is directing the light source to detect the three-dimensional data of the surface. There are different ways of optical techniques used such as optical interference, focus and phase detection, confocal aperture detection, pattern projection, and optical imaging technique.
The working principle of optical profilometry is a non-destructive, non-contact surface analysis technique. The optical profilometer is a type of microscope in which the light source is used to analyze the topography of the surface. The light from the profiler lamp splits into two paths by a beam splitter where one path is directed towards the surface and the other path is directed towards the reference mirror. The reflections from these two paths are recombined and are projected onto an array detector, the difference in the path of recombined beams is on the order of a few wavelengths which leads to less interference. The vertical resolution can be obtained in the order of several angstroms and the lateral resolution depends on the objective.
ZeGageTm
Provide non-contact measurement and characterization of micro- and nano-scale features of many types of surfaces, ensuring quality control and process monitoring in your manufacturing environment.
Our industry-leading profilometer sets the standard for performance, ease of use, flexibility, and precision of benchtop-class industrial non-contact surface profilers. Built on ZYGO’s proprietary CSI technology, ZeGage delivers innovative technologies to enable precise, reliable, simple, and confident surface metrology.
- Repeatability of RMS: 0.1 nm
- Data scan speed: 36 um/sec
- Stage control: USB Joystick
- Utilises MxTM data acquisition and analysis software


*This equipment can determine not only Ra and Rz, but Sa, Sz, area total/ above/ under the graph, and depth, it also can fill un-process void area.
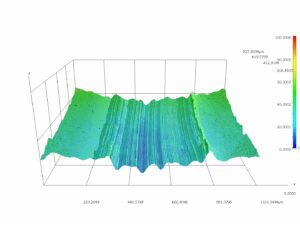
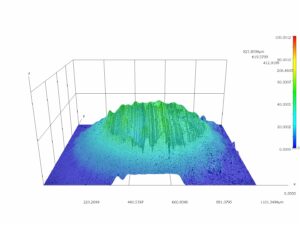
HIROX KH-8700
The Next Generation 3D Digital Microscope features high usability and is characterized by 3D observation technology, advanced and high-quality operations such as observation, measurement, and analysis.
- Fastest real-time image processing for digital microscope.
- Ultra-fine details of images.
- Point Focus (Easily and quickly auto-focus)
- Multiple angles of observation. – Various 2D and 3D measurement technologies.
- Real-Time 3D tiling


